How to Wash a Curly Wig

You’ve just invested in a curly wig from Daniel Alain’s Signature Curl Collection and you’re wondering how to wash a curly wig and dry the hair to ensure the curls look their best for as long as possible.
At Daniel Alain, we’re here to provide guidance and support throughout your wig-wearing journey, whether that means you need help in the initial stages of choosing the right piece for you, or beyond.
We know it’s important for you to feel comfortable and confident in caring for your new curly wig, so we’ve put together this helpful guide. We’ll share exactly how to wash a curly wig, discuss what you’ll need to make the process easier, and how best to maintain your curls in between washes. With time, washing your curly wig will be as simple as washing your own hair.

What Should You Know Before You Wash a Curly Wig?
If you’re experienced with naturally curly hair, you’ll already know that curls thrive with a hands off approach. The less you touch it, brush it, or weigh it down with product, the better your curly wig will look. That said, you’ll want to wash a curly wig every 7 to 10 wears, or more often if you work out regularly or sweat in your piece.
As Daniel Alain consultant Ashley explains, “Curly wigs are beautiful, but they do need a gentler approach. I always tell clients to slow everything down and keep the hair smooth as you wash. When dry, don’t play with the hair too much, and handle the curls carefully, so that they stay soft, defined, and much easier to manage.”
What Do You Need to Wash a Curly Hair Wig?
Before you start washing your curly wig, gather together the things you’ll need and keep them handy. Having everything ready in one place will make the process easier. Ashley recommends using a basin placed in a sink. You’ll have running water on tap and it will make rinsing easier.
You’ll also need:
-
Silicone Insert (optional, but recommended)
-
Hot water
-
Towels
-
Wide-tooth comb
How to Wash a Curly Wig Step by Step
Step 1: Prepare the curly wig before you wash
Start by turning the piece inside out so you can clearly expose the lace or front area. Take a moment to remove any trapped hair from the combs. Preparing the wig this way helps make the washing process easier and ensures you can properly cleanse the areas that need the most attention.
Step 2: Clean the front lace
Dampen the lace area using lukewarm water, making sure it is evenly wet but not overly saturated. Apply a small amount of shampoo, then use your fingers to gently cleanse away any makeup, sunscreen, or product buildup that may have collected on the lace and cap. Keep your touch light as this area is delicate. Once clean, thoroughly rinse that section with water to ensure no residue is left behind before moving on to wash the rest of the piece.
Step 3: Wash the wig in a shampoo bath
Fill a basin with water and mix in a small amount of shampoo, making sure it is evenly dispersed before placing your curly wig into the mixture. If you have a silicone insert, you can place it inside the wig to help support the shape of the wig cap and protect the wig from inversions. Submerge the hair and gently work the shampoo through the mid-lengths, ends, and cap using your hands. Keep your movements soft and controlled, allowing the product to cleanse the strands without any need to rub or scrub. This gentle approach helps clean the hair effectively while protecting the curls and preventing unnecessary knots. Repeat this step so the wig has two shampoo treatments.
Step 4: Rinse the wig thoroughly
Rinse the hair well under clean water, allowing it to flow until all traces of shampoo are removed. As you rinse, keep the hair smooth and water flowing downwards, which helps protect the curls and prevent tangles. Take your time to ensure there is no shampoo left in the wig cap or along the lengths of the hair, and if needed, you can always do an extra rinse to make sure everything is completely clean.
Step 5: Condition the human hair wig
Fill the basin again with clean water and mix in your conditioner, making sure it is evenly distributed before placing the wig into the bath. Begin by dipping the mid-lengths and ends of the curly wig into the mixture, then gently work the conditioner through the full length. Use your fingers to guide the product through the hair in a smooth, gentle motion. This step is essential, as it helps maintain softness, supports the shape of the curls, and makes detangling much easier later on.
Step 6: Gently detangle the curly wig
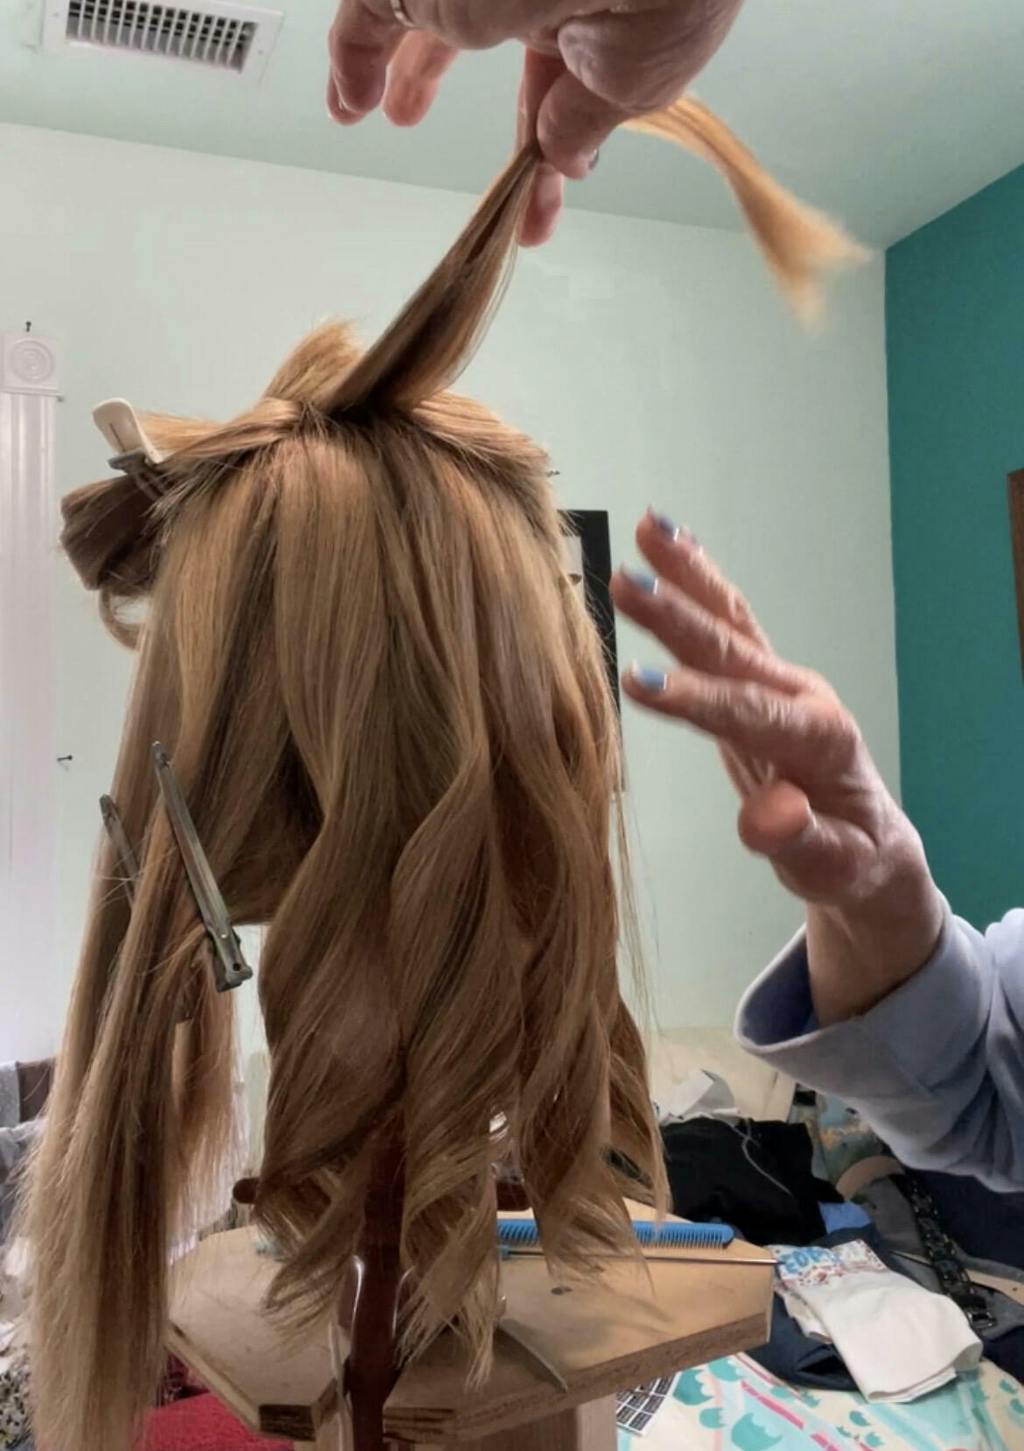
Use a wide-tooth comb or your fingers to begin detangling the curly hair wig, starting at the ends and slowly working upward toward the roots. Take extra care around the front hairline and lace. Keep your movements gentle and don't create unnecessary tension. Removing tangles helps the curly wig maintain its shape, keeps the curls defined, and makes the hair much easier to style once it begins to dry.
Step 7: Rinse out the conditioner
Rinse the wig thoroughly under clean water, making sure all traces of conditioner are removed. Take your time with this step, and if needed, do an extra rinse to ensure no product is left behind on the hair strands or within the lace cap.
Step 8: Towel blot the wig
Lay the wig flat on a clean towel and gently press to remove excess water. Use a soft, blotting motion rather than moving the towel back and forth, allowing the hair strands to stay smooth. Avoid twisting, rubbing, or wringing the hair, as this can cause tangles and damage the curls. When wet, human hair is more delicate and prone to breakage, so keeping your movements gentle is essential for protecting the wig and maintaining its overall condition.
Step 9: Air dry the curly wig on a wig stand
Place the wig on a wig drying stand and allow it to dry naturally, making sure it is positioned so air can circulate evenly around the wig cap. While the hair is still slightly damp, you can apply curl cream or gel to gently set and shape the curls, then try to keep handling to a minimum as it dries. Avoid touching or moving the curly wig too much during this stage, as this can disrupt the curl pattern and create frizz. In most cases, allowing a human hair wig to air dry is the best option for preserving soft, defined curls and maintaining the overall look of the style.
How Should You Style a Curly Hair Wig after Washing?
Once your curly wig is fully or mostly dry, use your fingers to gently separate and shape the curls. A curly wig will hold its pattern best when handled minimally, so focus on light touch styling to maintain definition. If needed, you can add a small amount of gel or curl cream to refine the style, but keep it simple to avoid buildup. For a more detailed step-by-step guide, you can explore more posts on how to style a human hair wig.
How Can You Maintain a Curly Wig between Washes?
To keep your curly wig looking its best between each wash, store your wig on a wig drying stand to help it hold its shape and allow the wig cap to stay properly formed. When needed, use your fingers for light detangling rather than a comb, as this helps protect the curls and minimize unnecessary frizz.
If the curls start to lose their shape, you can give the hair a light spritz of water and gently scrunch the curls back into place to refresh the style. Try to limit product buildup and excessive handling, as both can make the hair harder to manage over time. With the right styling routine, you’ll find your curly wig stays softer, more defined, and much easier to maintain until your next wash.
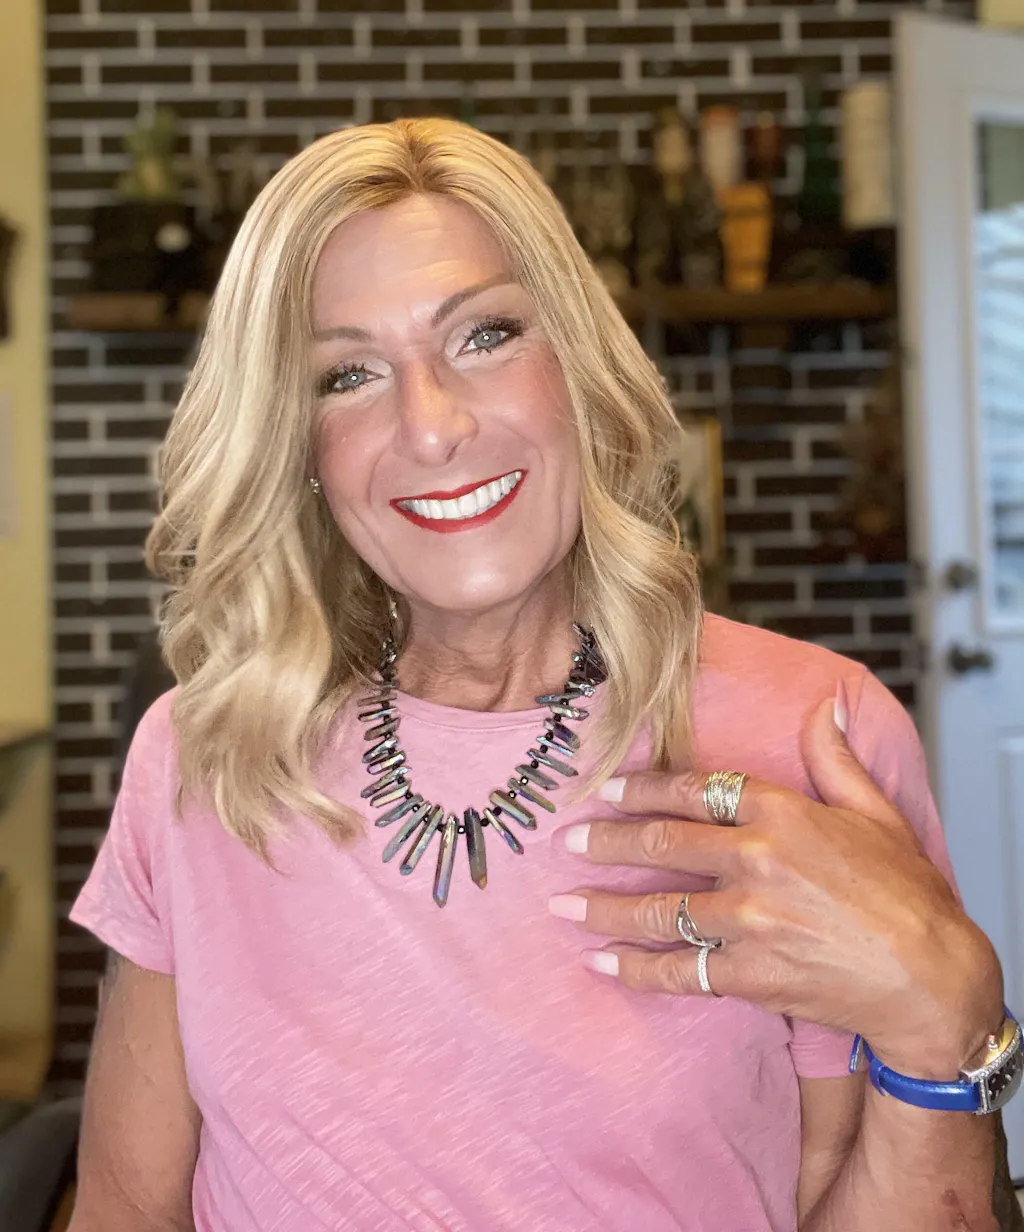
Still Searching for the Right Curly Wig?
Learning how to wash a curly wig properly is an important step, but it is just one part of caring for your human hair wig over time. With a gentle routine, the right products, and a little patience, you can keep your curls soft, defined, and easy to manage without creating unnecessary tangles or dryness.
If you are still figuring out what works best for you, whether that is refining your routine or finding a curly wig that feels right, it can help to explore your options a little further. You might want to take a closer look at our Signature Curl Collection to see how different styles and curl patterns look, or speak with a specialist who can guide you based on your lifestyle, preferences, and level of hair loss.
Sometimes, having that extra support makes the process feel much more straightforward and helps you feel more confident in your choice moving forward.